
To Contact the Artist:
Deborah Kunic
805-467-3510
P.O. Box 3933, Paso Robles, CA 93447
The Etching Process
The basic process of creating an etched image on a metal plate is essentially unchanged since Rembrandt's time. In a nutshell, a clean smooth surfaced metal plate of copper or zinc is coated with an acid-proof ground and the image is then drawn or scribed gently through the ground, exposing the metal. Wherever the metal is exposed, it will "etch" or "bite" when immersed in the acid bath. Different acids are used for different metals.
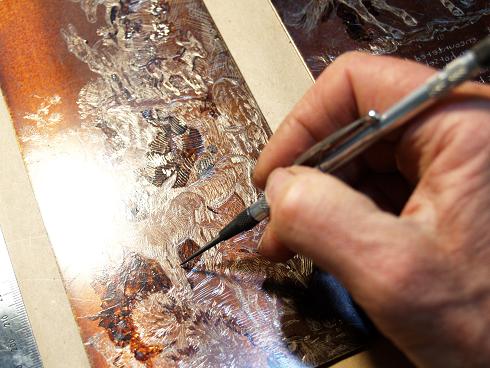
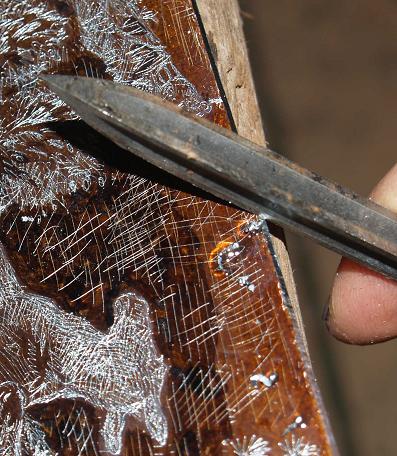
Here I am drawing through the grounded plate with a sharp "etching needle", keeping in mind that the final image will print in reverse.
The shiny areas are the drawn areas. This particular plate zinc, and I am working on the image "Trail From Heaven", which is donkeys picking their way down a narrow trail.
The dark spots on the plate are where I have correct mis-marks that I did not want to etch and appear in the final image.
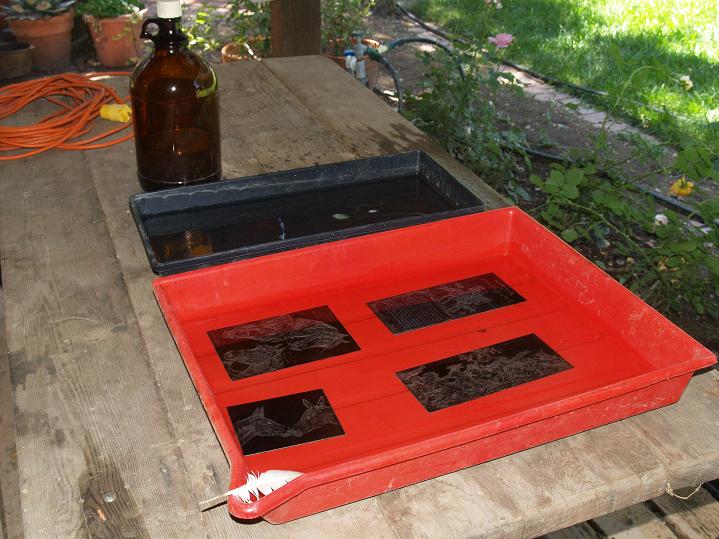
When I'm working on a new etching, I usually have 2 or more in the works at the same time. Here are four plates "biting" in the acid at the same time. You can see the acid storage jar, and the water bath next to the red acid tray.
Because of the fumes emitted by the acid's reaction with the metal plate, I do all my etching outside. It works great in the summer, since the warmer the acid is, the faster it bites. A plate that takes 20 minutes to "bite" in the summer heat, may take 3 or 4 hours on a chilly winter day. I prefer faster bites, as I won't get bored and get distracted doing something else and completely forget the plate in the acid (that's never good).
When the plate has bitten to my satisfaction I put it in the water bath to neutralize any acid that didn't drain off as I took it from the acid bath.
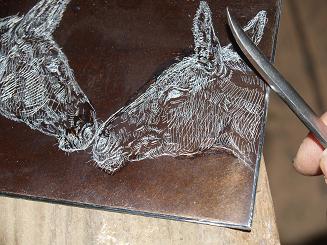
My next step is to prepare it for it's first printing. I start by scraping the edges vigorously with a 3-sided scraper, the metal coming off in little curls. This starts the beveling process so the plate will not cut through the wool blankets when it runs through the press at 2200 psi.
Each edge will be scraped to start a bevel.
The next step is to rasp or file down the edges, further enhancing the bevel and smoothing the surface.
Here I am filing or rasping down "Long Time No See", using a basic metal file.

The final plate preparation prior to printing is to burnish the edges smooth, so no ink will adhere to them. The tool is called, aptly enough, a "burnisher".
Contrast these bitten lines with the first photo; after biting the lines become much more distinct and shiny.
The next and last step prior to printing or "proofing" the plate for the first time involves using solvent to remove the acid proof ground and thoroughly clean the plate so it will accept the ink.